

These are also great for taking to sewing retreats. One this size is $60 or so at the sewing shop, so I thought I would use up some materials that I already had here, and make my own. The only things I purchased were the craft mat for $20, and the ultrabright heat resistant wadding, approx $3. It would have been a lot cheaper if I had been able to find the craft mat at one of the discount stores, but nobody seemed to have them. If I had been able to find one, then I probably would have only spent about $10 all up.... here is how it was made:
The materials I needed were:
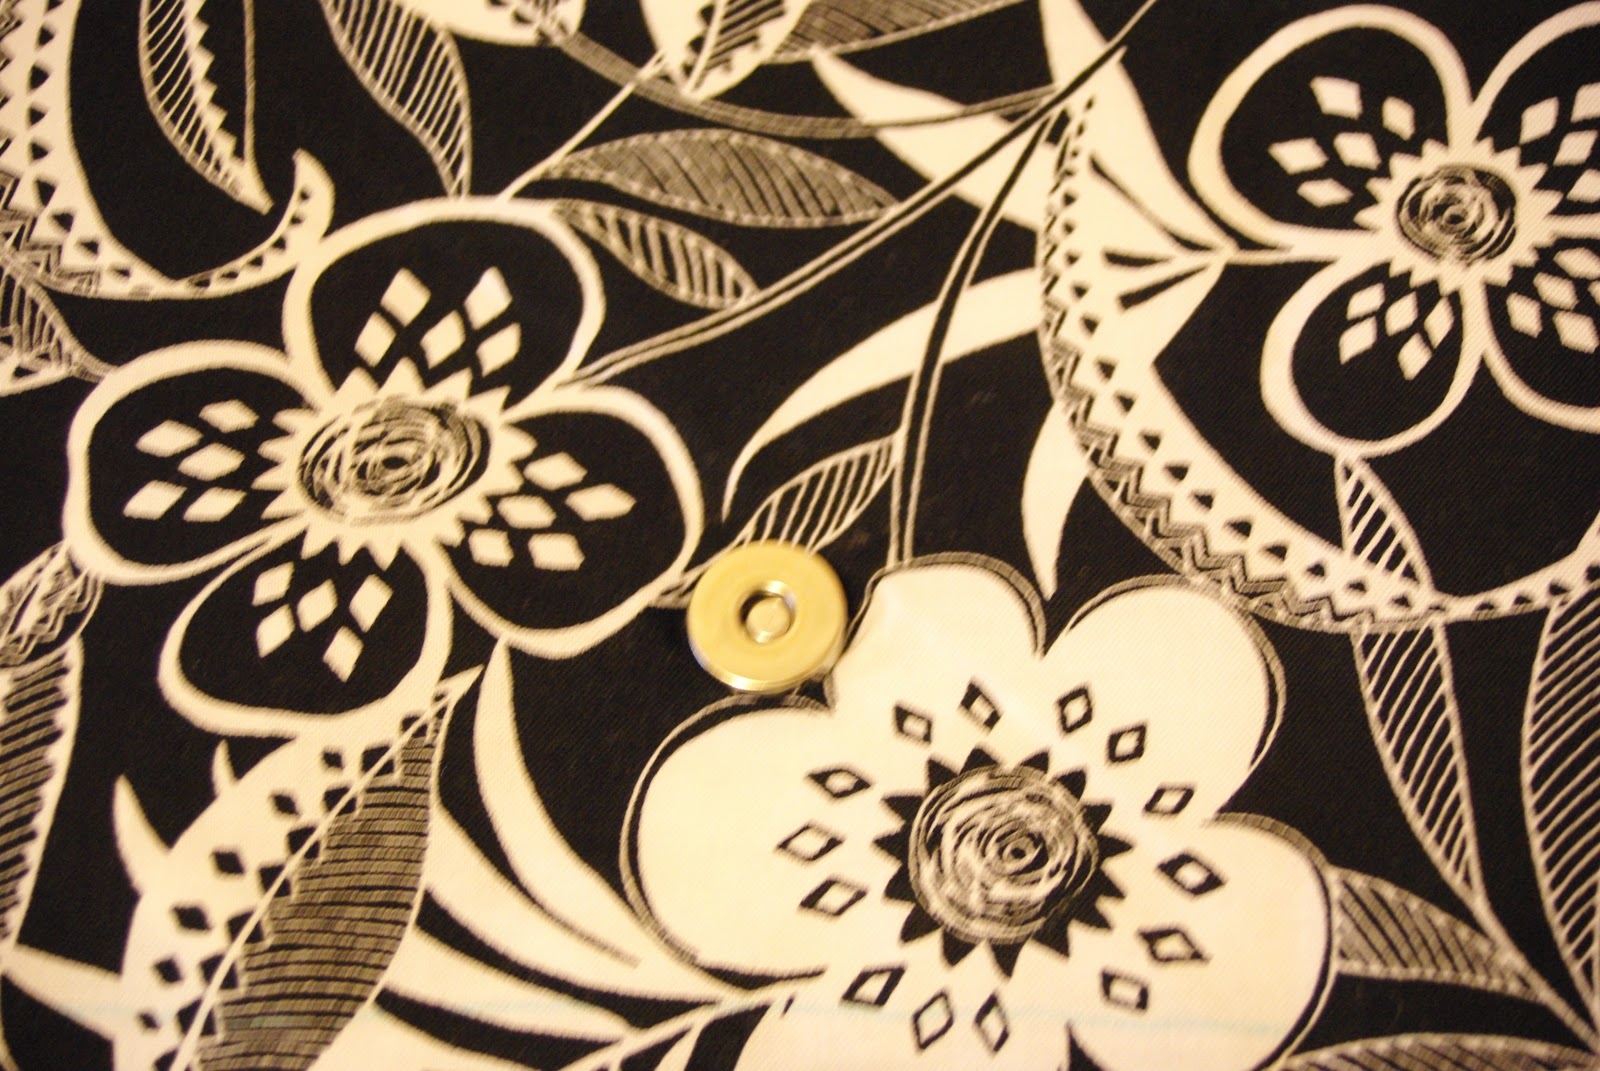
craft mat, heat proof wadding, fabric, fastener and a sheet of foam board from Office works and some wadding.

I cut 2 pieces of foam board the same size as my craft mat, the one I am using is 18" x 24"

I then laid my 2 foam pieces on the wrong side of my fabric. I cut my fabric to allow about 4 - 6 inches extra all the way around, with an inch gap in between the 2 sheets of foam board.

I then drew a line marking the gap in the middle of the 2 sheets of foam.

At this point I cut from the top of the fabric a slot to meet the top of the gap, to make it easier to fold, but worked out later that I didn't need to do that, I could have just folded the whole top and botton section over.

I then cut a piece of fabric to cover the inch gap between the 2 pieces of foam. I folded the top and bottom raw edges over, and then pressed a hem at the top and bottom so that the top and bottom of this piece sat in line with the top of the foam board on either side. I then sewed this strip in place top and bottom and along each side where the foam board meets, wrong side together. This piece covers the edges on show after the craft mat and ironing mat are glued in to place.


I then folded over the top and bottom edges of my large piece of fabric, so that they were even with the piece that I sewed in, which is level with the top and bottom of the foam sheets.

I then placed the foam board in 1 side of my case, so that it butts up against my sewn edge, underneath this piece of fabric, and placed the other 3 sides of fabric over this, and stapled in to place firmly and neatly with my staple gun.


All sides of 1 side of my case are now stapled to my foam board.


I then cut a piece of wadding to the same size as the foam board, and attached it to the back of this piece, covering all of the fabric and heatproof mat, to create an even surface, as this will be against the front of the outside of the case, so I wanted it to feel smooth and even, and not have any bumps from where I folded the heatproof mat and fabric over my foam board.
I then temporarily placed my craft mat and my ironing pad inside my case to estimate the thickness, to work out where the 2nd side of my fastener was to be placed, and then attached it in place to the front of the case.


That's it....all done. I now have a great portable ironing board and craft/cutting mat to take to my sewing classes...I'm very happy with how it has come up.


Fantástico!!!
ReplyDeleteMerci!!!
esta de lujo, es muy util. gracias por compartir tus conocimientos. saludos desde puerto rico
ReplyDeleteWow, what a fab idea! My sewing machine is currently on the 2nd floor and I do my hand sewing and applique on the ground floor so have to lug the iron and ironing board up two flights of stairs and down again! I can see a new iron coming on and one of these in the living room....
ReplyDeleteI'm looking forward to making one of these, thanks for the great tutorial.
ReplyDeleteWow, what a great way to make your own 2 in 1 ironingboard and cuttingmat ! Thank you for the great tutorial with pictures!
ReplyDeleteJust posted this project on my site as my to do list!
ReplyDeletehttp://www.makeasilkpurse.com/2010/11/links.html
wat een geweldig idee, hier zocht ik al jaren na. dank u wel.
ReplyDeleteMarian uit Holland
this is soo awesome !!!
ReplyDeleteThank you so much for this great tutorial! Have been searching the internet intermittently to find a way to make my own cut- and ironing board set.
ReplyDelete- One question though: did you use the 5mm or the 8mm foam board from Office works?
Hi Else, I used the 5mm foam board, hope that helps :)
DeleteSuper! Thanks for the great tutorial!
ReplyDeleteHi Deb!
ReplyDeleteI absolutely love this tutorial! I am an editor for AllFreeSewing and would love to feature your tutorial on my site with full credit to you. I know my readers would just love it and in return would generate some nice traffic to your site. If you agree and would like us to feature your project, our readers will simply click the link to your blog to get your full tutorial.
My site is part of Prime Publishing and we publish 19 cooking and crafting web sites. We have over 3.5 million active e-mail subscribers and about 10 million page views per week. You can learn more about us at www.primecp.com.
Please let me know if you would like to get started. Just shoot me an email (mseeley@primecp.com).
Thanks, and look forward to hearing from you!
Mollyhall
This is such a cool idea. Especially if you have a small sewing room. Thanks!
ReplyDeleteThank you for such a complete. easy to understand method of making such a useful item. The pictures are very helpful. Thank you for sharing your knowledge.
ReplyDeleteI have one I bought and wanted to redo it. Was not sure how, but I think I can do it now. Mine is very old, but will look like new , thanks to you.
ReplyDeleteThis is so portable and pretty too! As a senior, I won't have to lug my big, bulky, ugly one around for an item or two. Thanks for the easy to understand directions!
ReplyDeleteI AM HANDI-CAP SO NEEDED SOME THING JUST MY SIZE I USED A PIECE OF PLYWOOD WITH FABRIC I HAD KINDA LIKE A PILLOW CASE TYPE AND THIS WAY I CAN CHANGE OUT COVERS IF WISH ..YOU CAN VELCRO ONE SIDE..NEXT ONE I WANT TO MAKE LITTLE LARGER AND HAVE IT WALL MOUNTED TO RAISE UP WHEN NOT IN USE AND OUT OF MY WAY.
ReplyDelete